
Maybe youre’ still saving up for your own house or still scouting for the one to call home. Or even if you have a permanent house, you may still be dreaming of living elsewhere.
If you are still an NPA (no permanent address)-at-heart, you may have felt the hesitation to spend on furniture. After all, hiring a truck to haul your stuff could be costly. Tucking them away in a storage facility, indefinitely, is an added expense.
But then again, you NEED a way to keep your current room or apartment organized. Your current space still needs to feel like home.
So what can you do?
You can, of course, wait till you get your dream home. Instead of splurging on furniture, funnel all the money toward saving for that property.
Or you can gradually buy what you need now, which also fits your plans for the future. Below are a few tips to do exactly that.
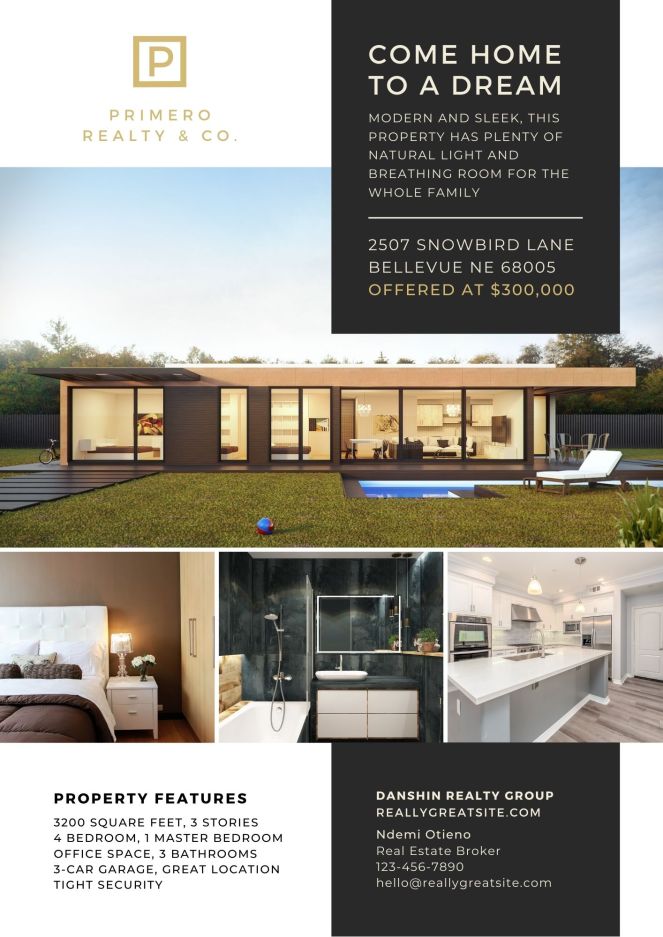
1. Visualize your dream home.
Think about the colors, textures, and ambience you want for your home’s interiors.
Visualize the spaces you want to have–perhaps a home office, a mini-library, or a even garden.
Clueless about what you truly want? That’s absolutely okay. Here are some things you can do to get clear about what you want.
- Watch home building, designing, or renovation shows.
- Bingewatch YouTube videos and channels.
- Browse interior design websites online.
- Read home building and designing books and magazines.
- You don’t even have to buy new publications or magazine issues. Drop by secondhand bookstores and buy old copies.
2. Design your dream space.
Whether you prefer to do this online or opt to have a hard copy, here are some options for you.
Draw it.
If you’re an artist, take out your sketch pad, pens, or paints and start sketching or painting your future home. Then hang it somewhere in your place, to keep your dream alive.
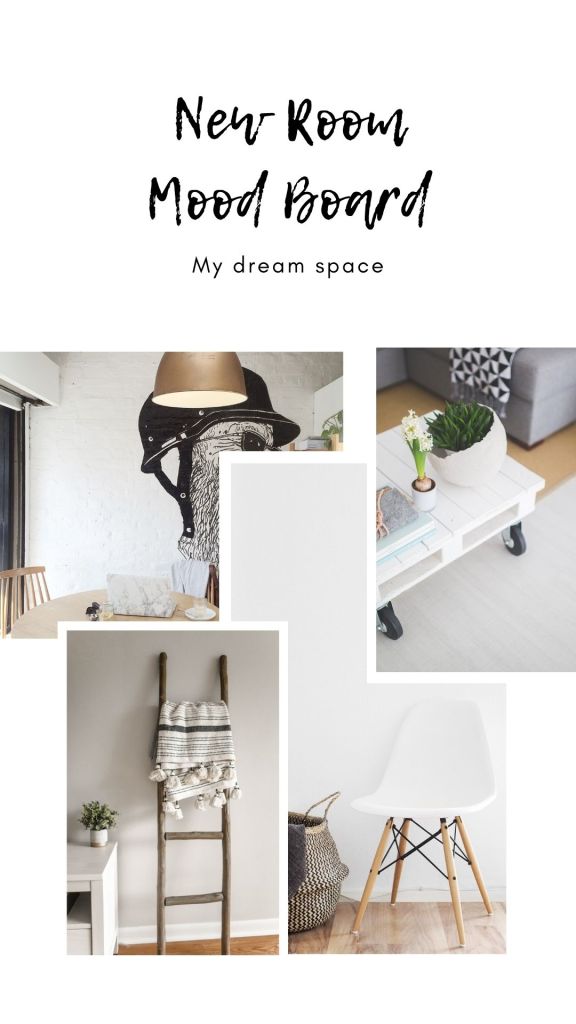
Create a vision board offline.
There are so many ways to create a vision board, and below are just a few.
- Add it to your existing dream board. Maybe you already have a vision board and you don’t feel like creating a new one just for your home. Find a picture of a house or room you love. Cut it out or print it, then add it to your dream board.
- Create a dream home board. If you want to be more detailed about what you want, have a separate board especially for your future property. Add images of furniture, colors, textures, and other details you want.
Make it as fun and exciting as you want. You may even go as far as including an image of what you want to see when you open the windows. Would you like to wake up to the sound of the waves kissing the shores or a mountaintop view of a city just beginning to stir at dawn?
Create a dream board online.
Maybe cutting images isn’t your thing, or using downloaded images is more convenient for you. If that’s the case, then just copy images online and put them together. You can:
- save the images in a Word file or Powerpoint slide;
- use Google Docs or Google __;
- download vision board apps; or
- customize a Canva template.
3. Invest in pieces that fit your future plans.
When buying cabinets, shelves, decors, or other pieces to liven up your current space, prioritize things that fit your future plans. For example:
- Pick colors or materials that match your dream home’s theme or palettes. Doing so gives you a feel of what your future home will look and feel like. You can then decide whether it’s what you truly want or if you wish to tweak your preferences.
- Do you want to avoid moving massive and heavy furniture? Buy pieces that you can easily assemble, disassemble, or fold. This saves you the hassle of worrying how to transport them, where to store them, or whether or not they’ll fit in your future space.
- Planning to downsize or stay in a smaller, easy-to-maintain space? Pick pieces that can be customized, folded, stowed away, or stacked together.
Products and stores you can check out:
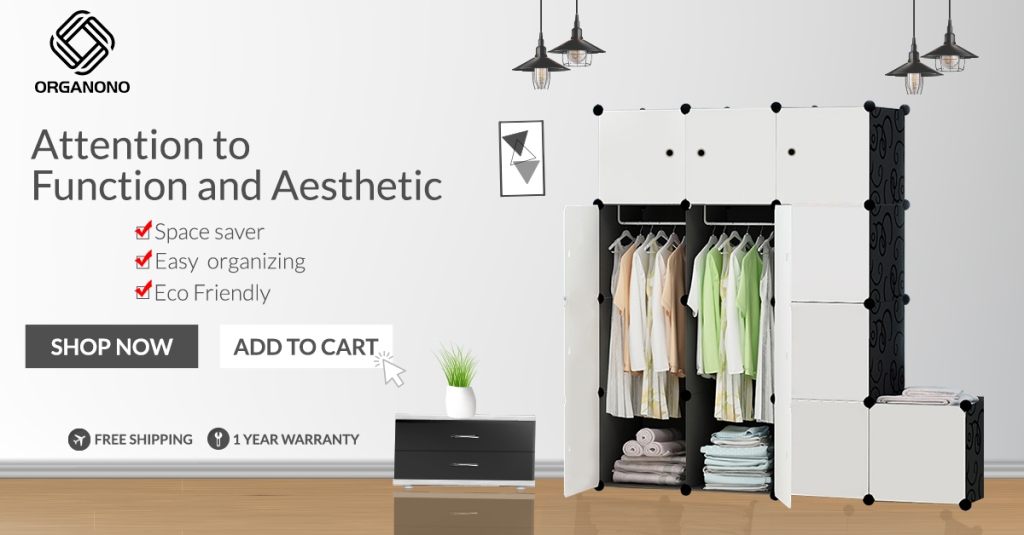
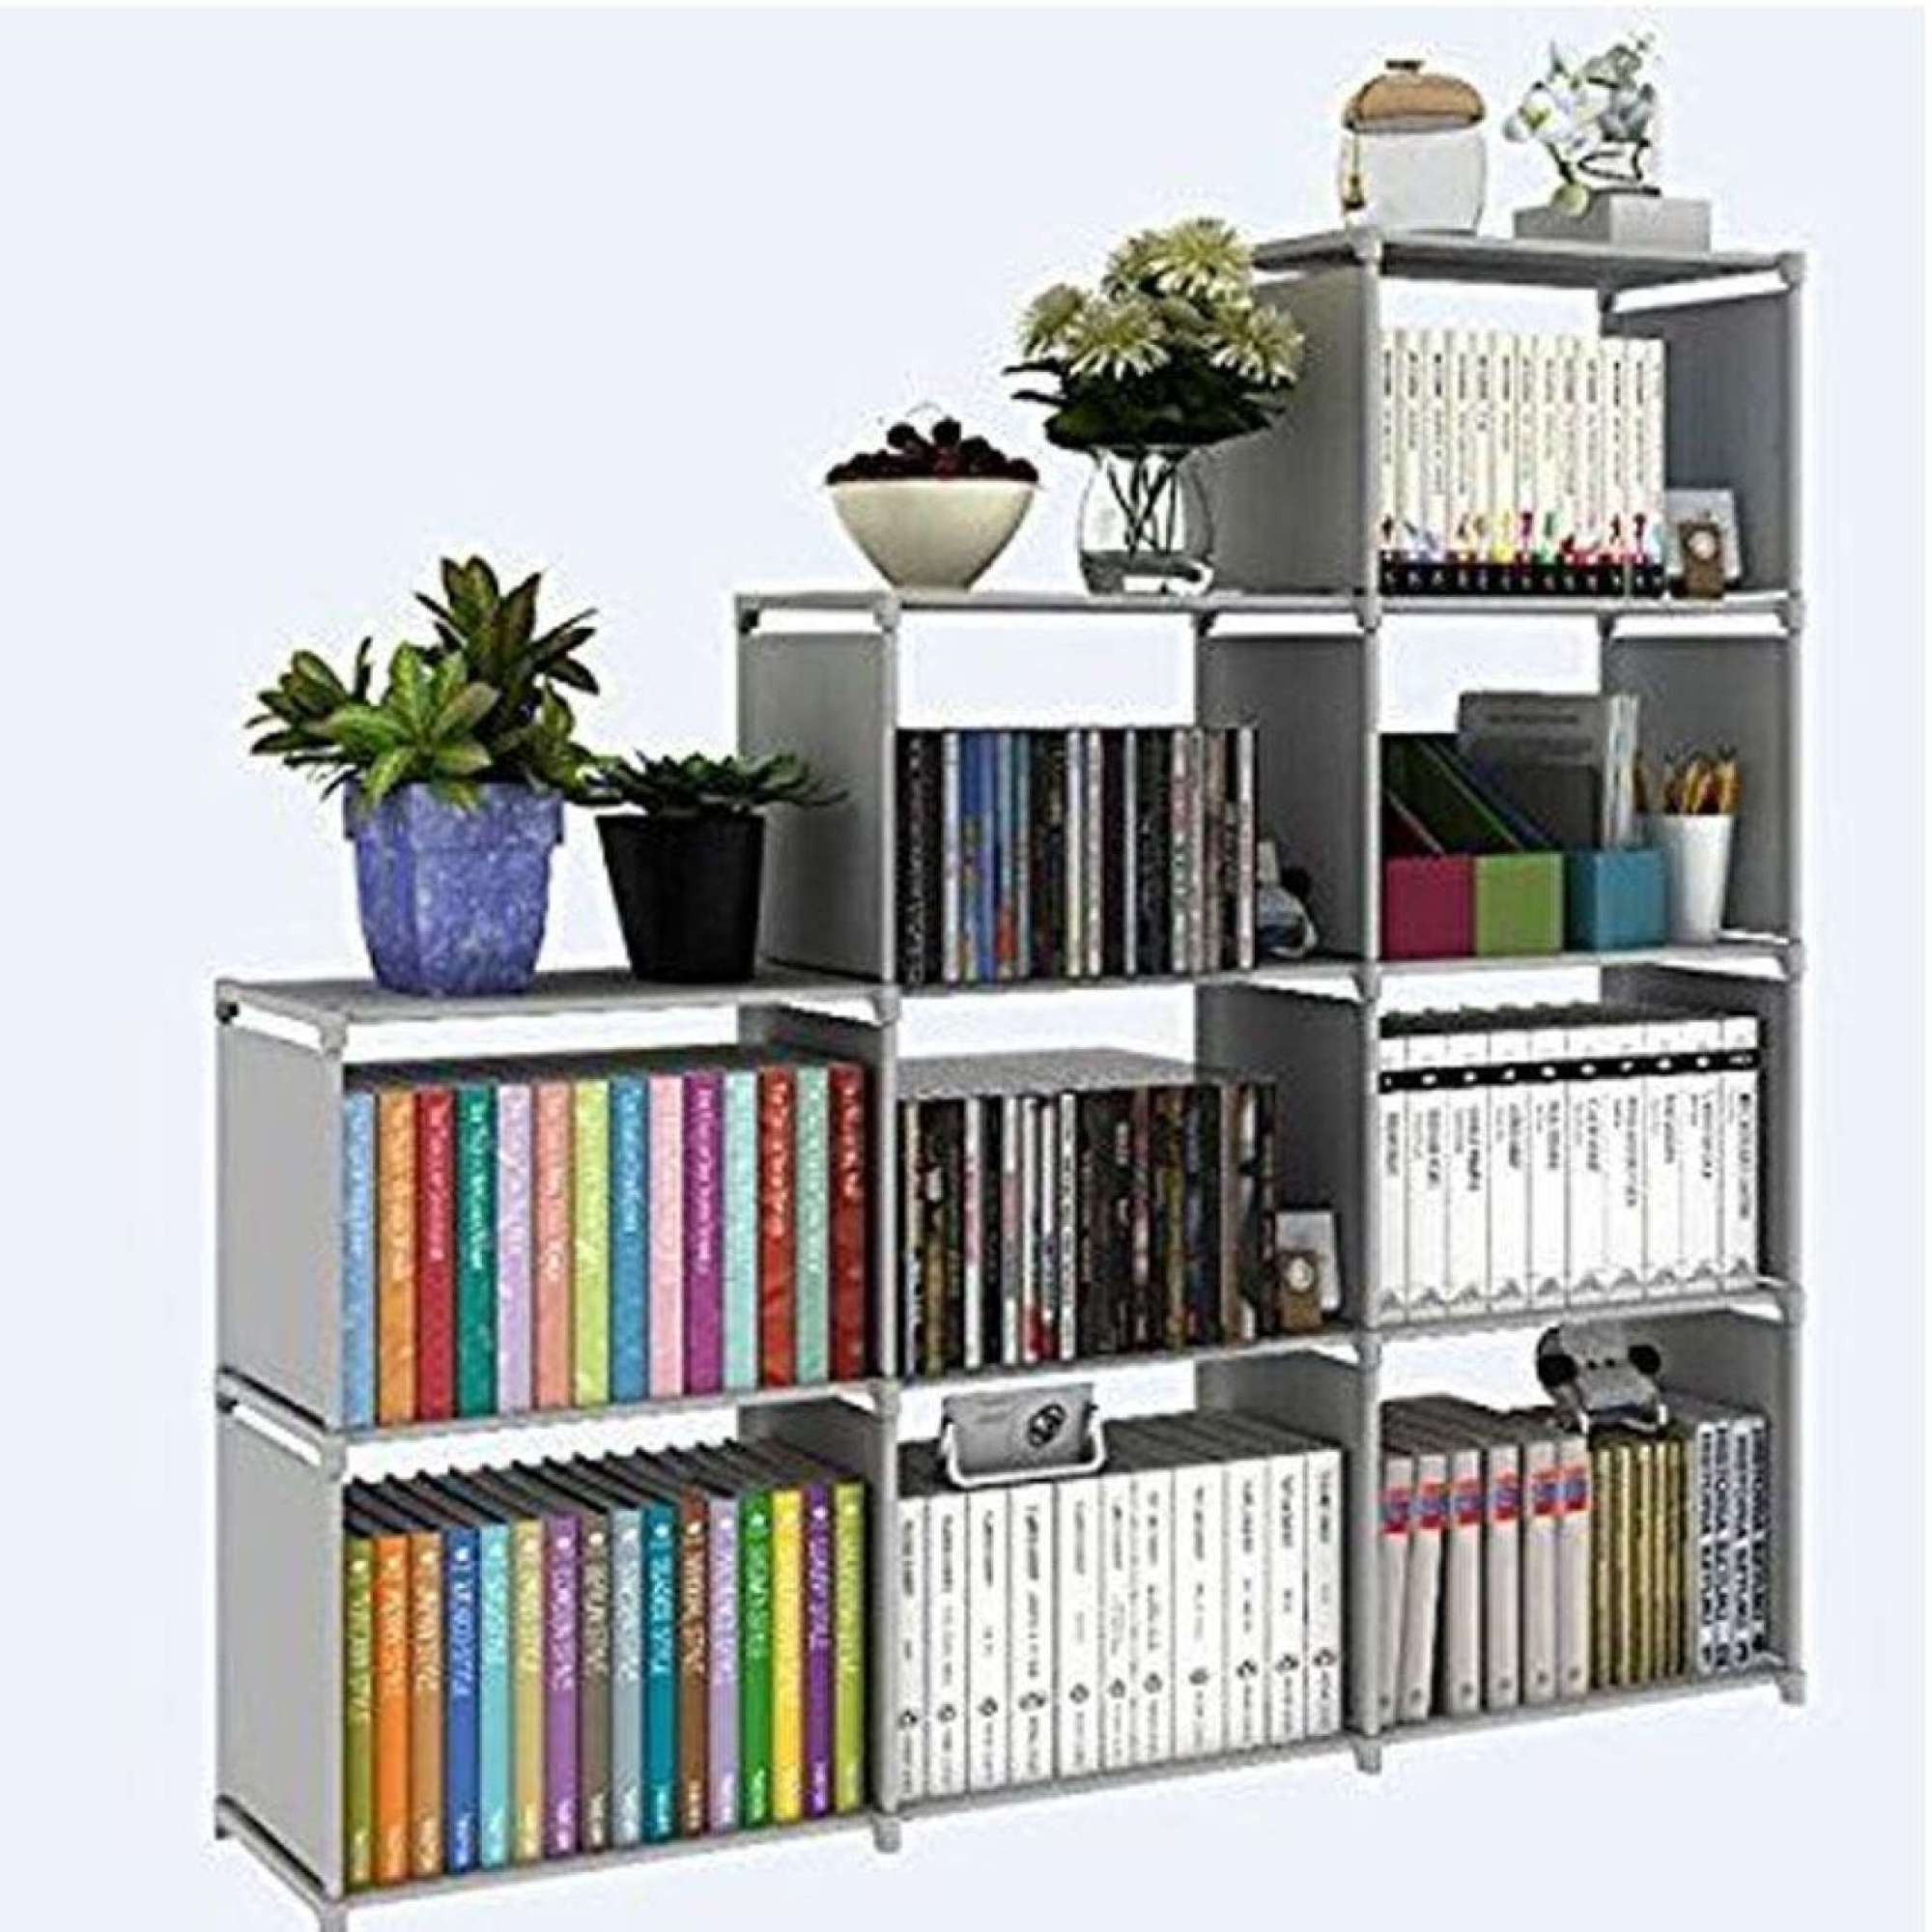
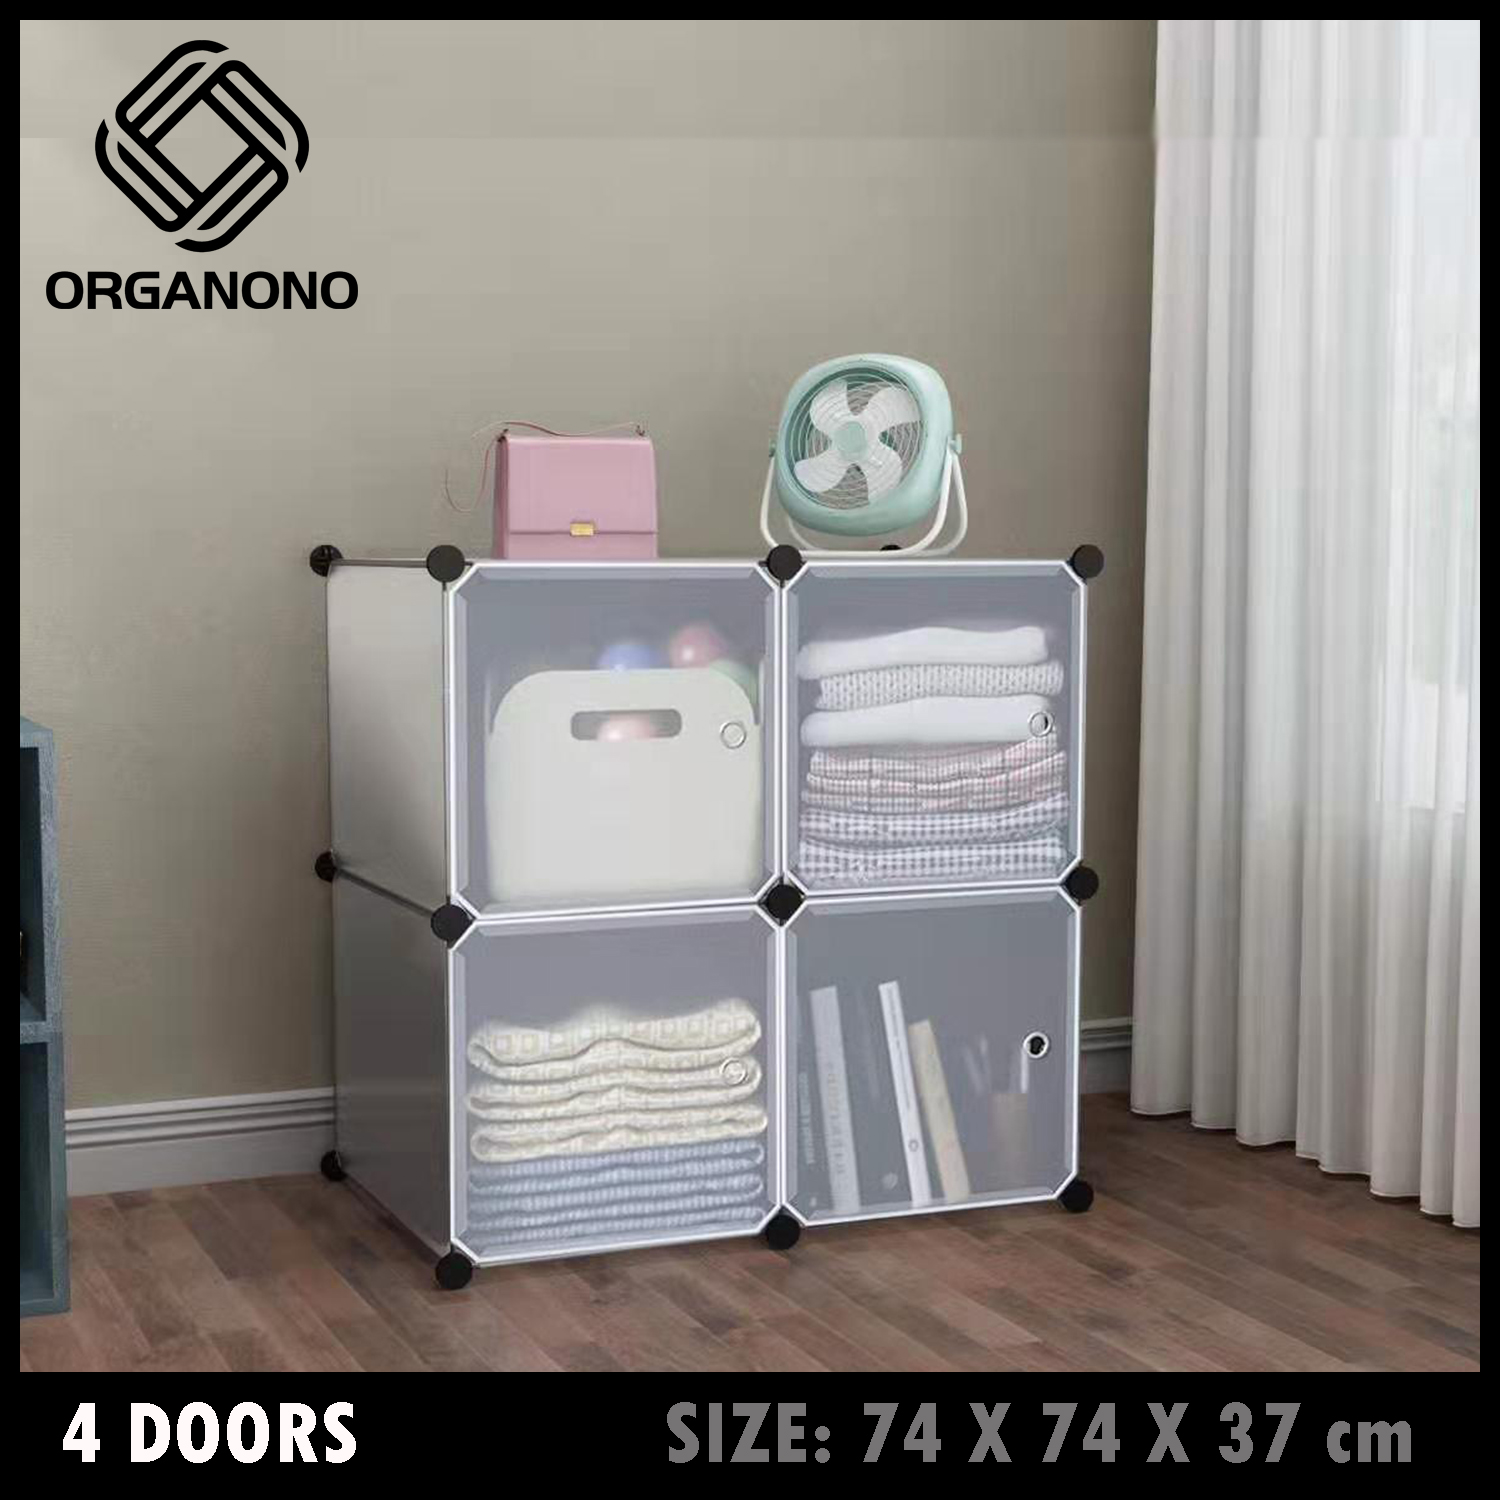
- Organono Screwless Multipurpose 4-doors cubes DIY (panel size: 35*35cm)
Organono shelves can be stacked in different ways. You can even add more cubes on the sides or stack them vertically.
- 9-cube bookshelf (120x30x122cm)
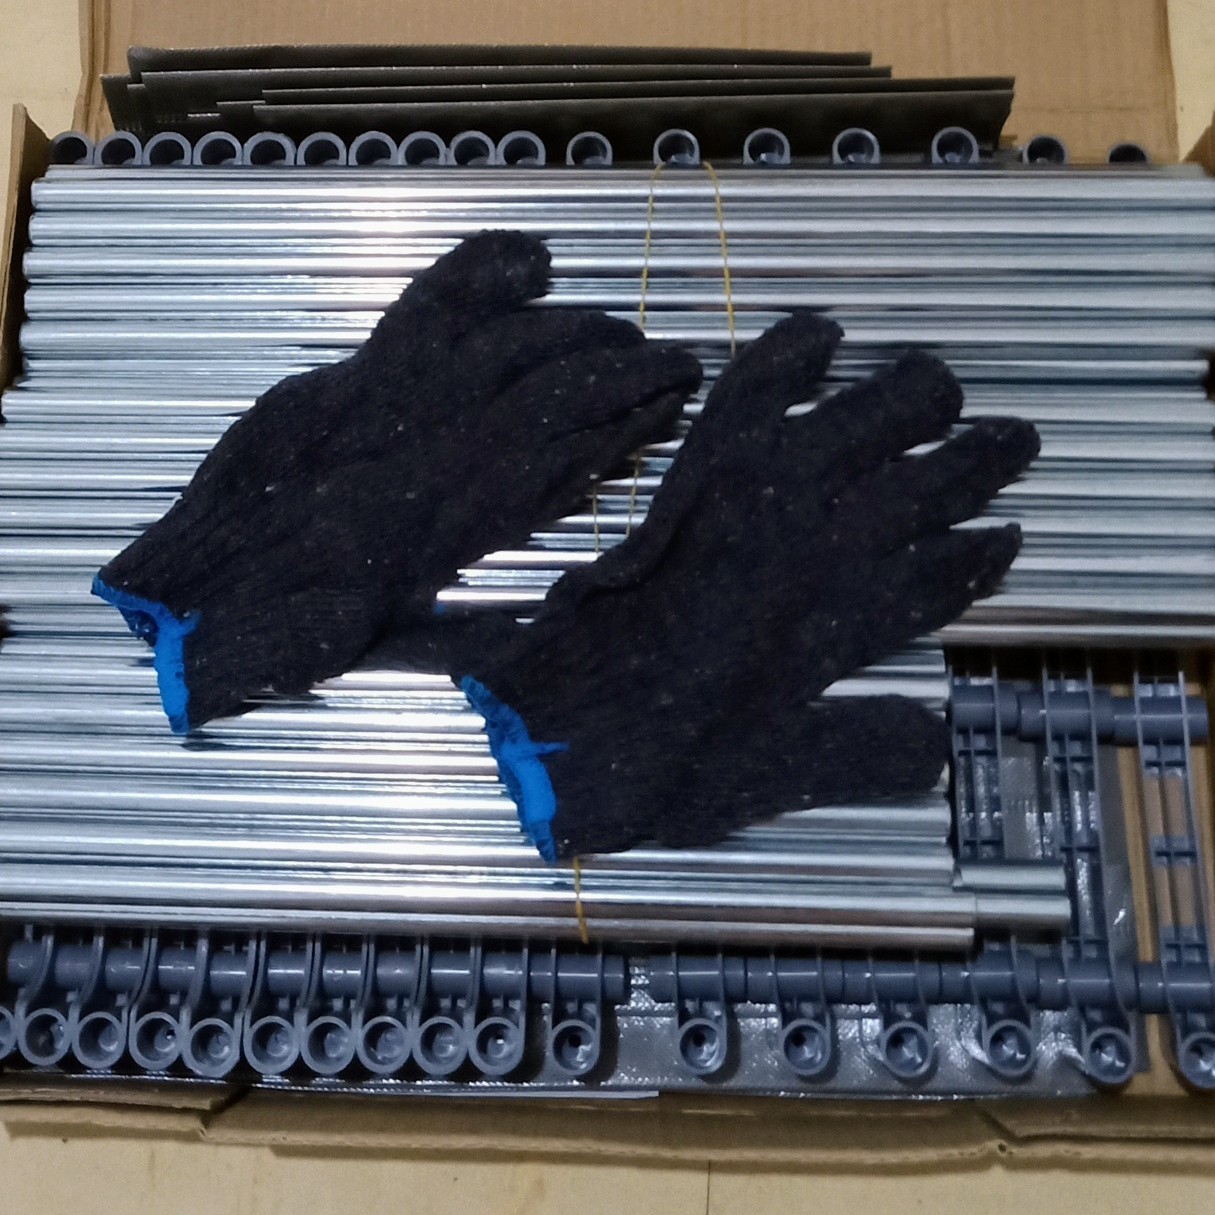
It took me about half an hour to assemble the shelves and arrange my stuff. Be sure to follow the instructions… and use the gloves. 🙂